SnapPixelEditor is an online tool for editing photos that enables users to resize images, among other things, on your Mac. Resizing an image involves adjusting its dimensions, either increasing or decreasing its size, for various reasons such as fitting it into a particular frame, optimizing it for web use, or saving storage space. This guide will demonstrate how to resize an image on a Mac using SnapPixelEditor in a few easy steps.
How to resize an image on a Mac – [Step-by-step guide]
Resizing photos on your Mac using Snap PixelEditor is a straightforward and efficient process. Also, the user-friendly interface of SnapPixelEditor makes it easy for anyone to resize images effortlessly. In this guide, we will show the step-by-step process of resizing an image on a Mac using SnapPixelEditor. With little effort, you can modify the size of your image to suit your requirements without compromising on quality.
Step 1: Visit the SnapPixelEditor website
To begin, open your web browser on your Mac and go to the SnapPixelEditor site. Once you are on the website, click on the “Edit Photo For Free” button to launch SnapPixelEditor’s image editing tool.
Step 2: Upload the photo to SnapPixelEditor
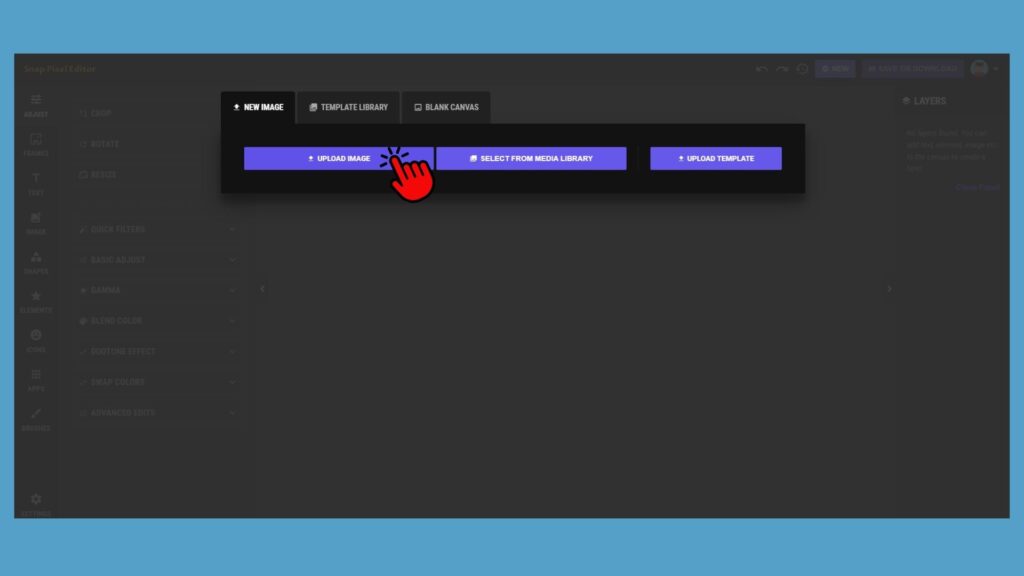
The next step is to upload the image you want to resize. So, click on the “Upload Image” button and then select your image. Once your image is uploaded, you can begin resizing it using the tools provided.
Step 3: Resize the image
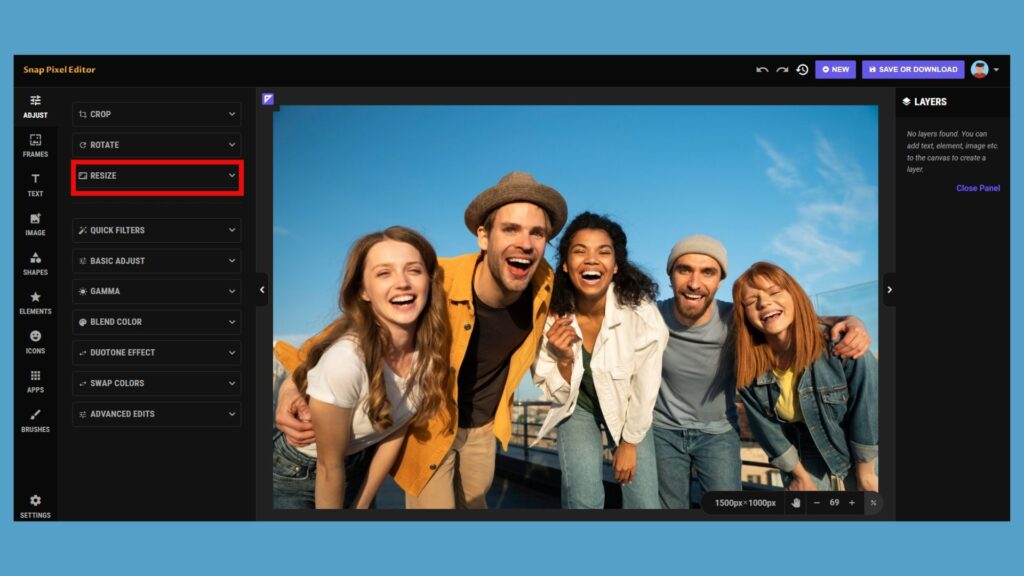
To start resizing, select the “Resize” option located on the left side of the screen within the “Adjust” toolbar. Once you have selected this option, you can enter the desired dimensions for your image.

After making your adjustments, click “Apply” to resize your image accordingly. Then, you will be asked to confirm your choice, so click on “OK,” and your image will be resized.

Remember, when entering your desired dimensions to resize the image, there is a “lock” icon nearby. Typically, this icon is either locked or enabled, which means changing one dimension will also change the other to keep the image’s original aspect ratio. But if you do not wish to maintain the original aspect ratio, make sure to unlock the icon before entering your desired values. However, keeping the aspect ratio while resizing will prevent distortion and keep the image proportional.
Step 4: Save your resized image
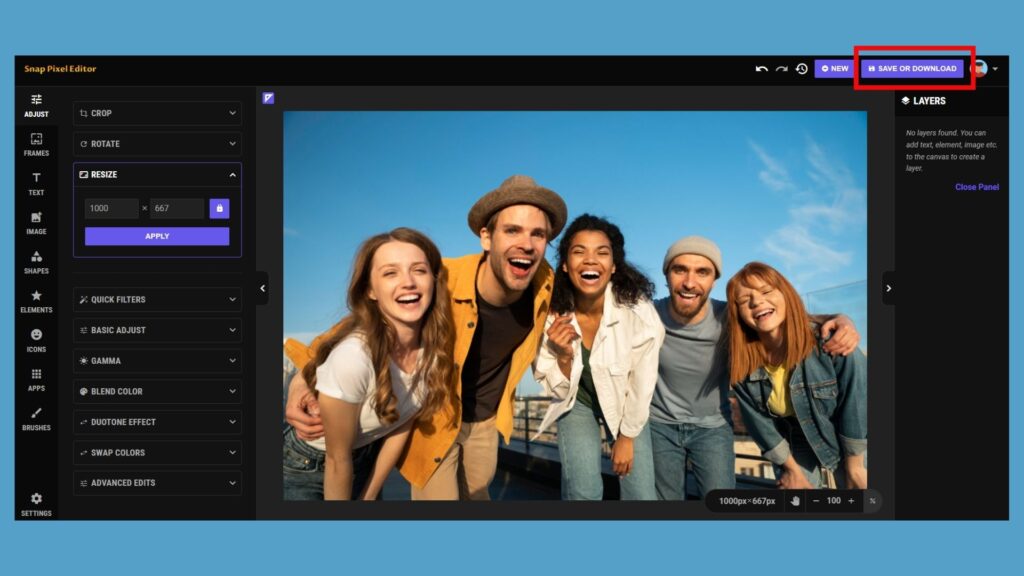
Once you’ve resized your photo, you can edit or enhance it further by using the other image editing tools offered by SnapPixelEditor. But once your work is done, you can save your image on your Mac. Simply click on the “Save or Download” button in the top-right corner and head over to the “Download” option.

After that, choose your desired file format and quality settings, then click “Download As Image” to download your resized image to your device. SnapPixelEditor supports various file formats, such as JPEG, PNG, WEBP, and SVG, allowing you to choose the best option for your needs.
Moreover, you can adjust the quality settings to ensure the image is saved in the highest resolution possible. Also, remember you can rename the file before saving it to easily identify it later on.
Conclusion
By following these steps, you can ensure that your images are resized efficiently and effectively without compromising their quality. With SnapPixelEditor, resizing images on your Mac has never been easier. Additionally, SnapPixelEditor provides extra features and tools that can improve your images even more, making it a versatile tool for all of your editing requirements.
Don’t forget to check out our other article on how to resize an image for Instagram posts using SnapPixelEditor.